 Virtual tours for remarkable stays
StayPano · Insights & guides
What is a 360 panorama photo? How to spot a good one
What is a 360 panorama photo and how do you know yours is good enough for a tour? 5 signs of a good photo and 3 flaws that mean re-shooting.
What is a 360 panorama photo? How to spot a good one
360 tours are built from 360 panorama photos — but not every photo labeled "360" makes a good tour. This article explains what a panorama photo is in the simplest terms, and how to tell whether a photo is good enough for tour building — so you can check your own set before sending it off.
What is a 360 panorama photo?
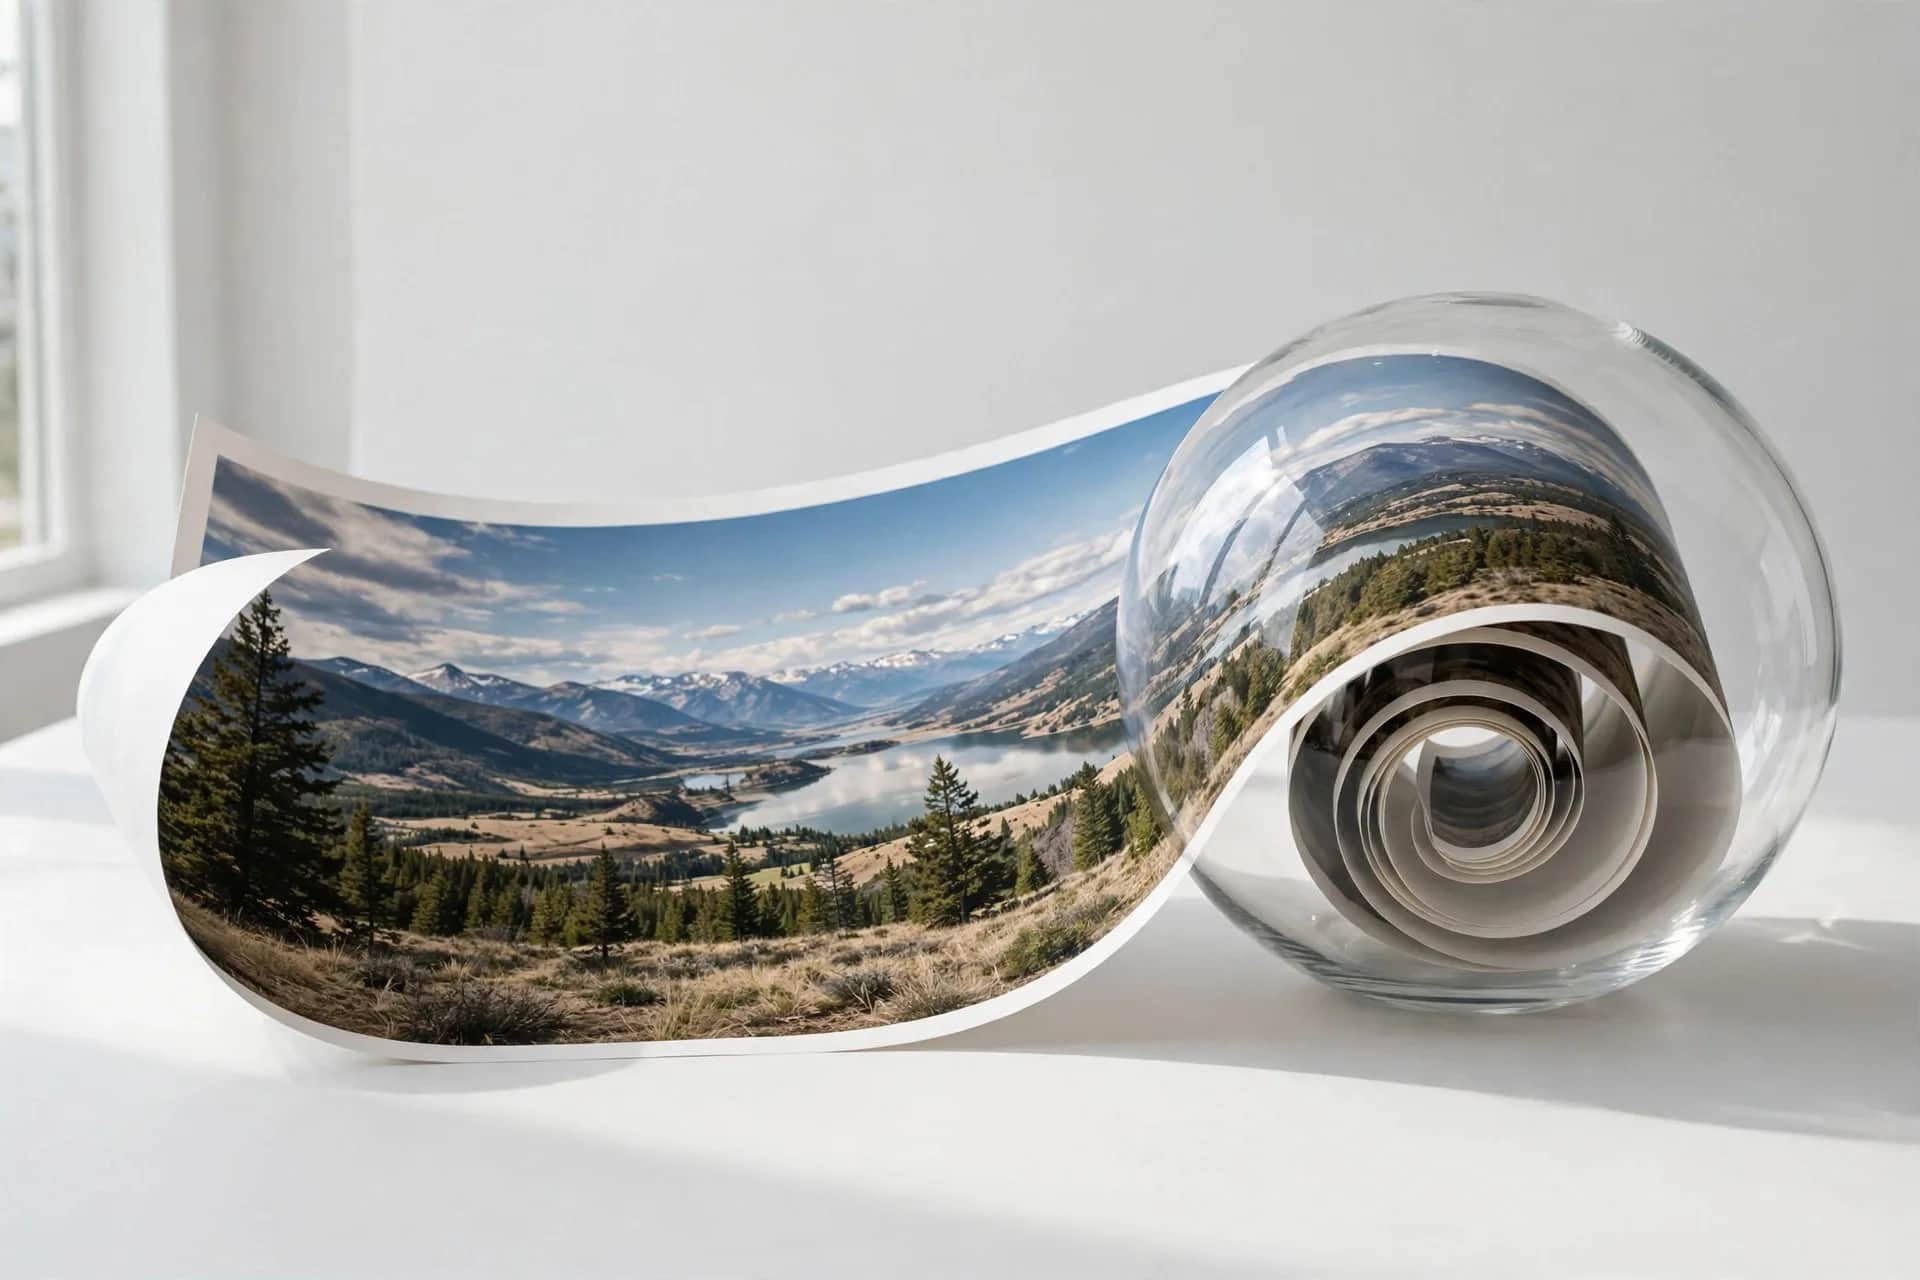
Imagine standing in the middle of a room, spinning once, and "pasting" everything you see onto one long strip of photo — then rolling that strip into a sphere, with you at its center, seeing image in every direction. That's a 360 panorama photo.
Because it must "wrap" into a sphere, a standard panorama always has a 2:1 ratio — twice as wide as tall (e.g. 8000×4000 pixels). This isn't arbitrary: tour viewers use exactly this ratio for their math, and wrong-ratio photos distort on screen (explained in why 360 photos must be exactly 2:1).
Panorama photos are usually stitched from multiple smaller shots — a 360 camera captures many directions at once and merges them. The merge zones are called seams. Good seams are invisible; bad ones show like tears across the space.
5 signs of a good photo
1. Sharp when zoomed. Open the photo on a computer and zoom to 100%: details stay crisp, sign text stays readable. Blurry at original size only gets blurrier in a tour — no post-processing rescues it.
2. Seamless stitching. Spin through the photo and watch where objects "cross" merge zones (doors, wall edges, railings): no doubling, no cut-off objects, no odd light bands.
3. Enough light, natural color. Well-lit shots: colors close to reality, no grainy noise, visible detail in shadows. Underexposure is the hardest flaw to fix of them all.
4. Correct 2:1 ratio. Check the dimensions: is the width double the height? Phone panoramas sometimes come out at other ratios — crop back to 2:1 before building.
5. A tidy space. A 360 camera sees everything around it — a passing photo is not only technically right but "clean": no trash bins in frame, no dangling cables, no clutter.
3 signs you should re-shoot
1. Blurry throughout. Shaky hands or wrong focus at shoot time. No sharpening trick rescues a blurry original — re-shooting is fastest and cheapest.
2. Visibly misaligned seams. Warped stitch lines or objects "sliced in half" at some angle. Usually caused by an unsteady camera or someone walking through a merge zone mid-shot.
3. Blown highlights or crushed shadows. Shot against harsh sun: windows blown white with nothing visible outside, or room corners pitch black. Re-shoot when light is more even — see the best time of day to shoot 360 photos.
A quick self-check with your phone
No special software needed: open the panorama in a 360-capable phone viewer (many phones have one built in, or use Google Photos), pinch-zoom into each area and spin a full circle. Two minutes per photo catches most of the flaws above.
Still unsure after checking? Send the set via Zalo — I'll inspect every photo against the preparation checklist, free.
💬 Send photos for a free quality check
Read next: Checklist before ordering a 360 tour · Why must 360 photos be exactly 2:1?