 Virtual tours for remarkable stays
StayPano · Insights & guides
What are hotspots in a 360 tour? 5 types worth using
Hotspots are clickable points inside a 360 tour. Learn 5 common hotspot types, 3 placement rules that keep tours clean, and 3 mistakes to avoid.
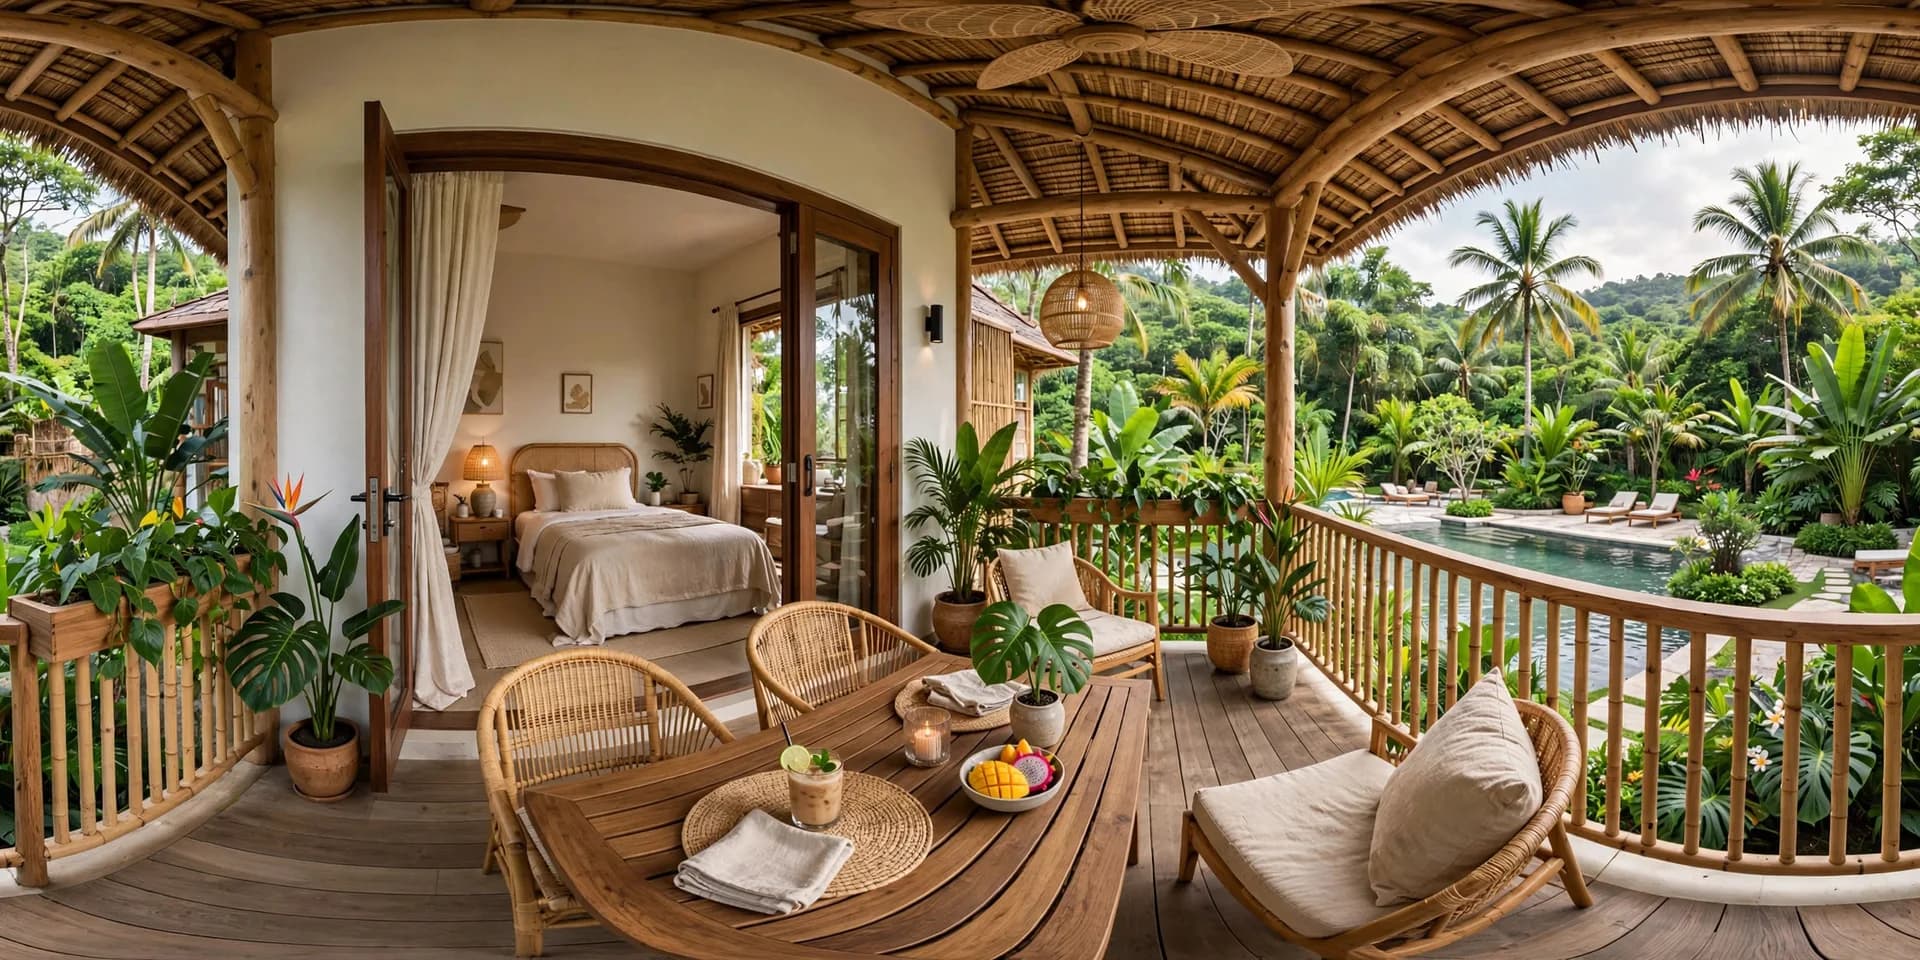
Imagine this: you send a client your 360 tour link. They open it, spin around a few times, look for a bit, then close it. The tour isn't bad — there's just nothing to click next. 360 photos let guests look, but hotspots let them go and do. A tour without hotspots is a pretty set of photos to admire; a tour with hotspots is a journey guests control themselves.
This article explains what hotspots are, the 5 interactive point types you'll use most, and how to place them so guests click more without getting lost.
What is a hotspot?
A hotspot is a clickable point placed inside a 360 space. Each point is tied to content or an action: click it to move to another scene, show information, open a photo or video, or jump to an external link.
They're easy to spot: when viewing a tour, you'll see small icons (dots, arrows) floating over the image. Hover or tap one, and a short label tells you what the click gives you.
In our article what is a 360 tour we mentioned hotspots as one of the four components of a tour. This one goes deeper into each type and how to use them well.
For property owners, knowing hotspot types also helps you read quotes accurately: a 20-scene tour with only navigation points costs differently from an 8-scene tour where every corner has info points, menu photos and a booking button. Hotspot count and variety are part of the delivery scope — worth knowing so you ask the right questions when ordering.
5 hotspot types you'll use most
1. Navigation hotspots
The most common type: click to "step" into another space. These sit exactly where the real door or walkway is in the photo — standing at the café counter, click the point at the door to reach the outdoor seating area.
An observable example: a café and rooftop tour linked into a closed loop — from the CRAVE counter up to the wooden seating area and out to the evening rooftop — using navigation points placed at real doors and walkways. Guests complete the tour with no guidance, because every point sits where they would walk in real life. Try it in the 360 café and rooftop demo (illustrative demo).
2. Info hotspots
Open a short description tied to the exact viewpoint. Standing at the pastry counter shows the pastry names; standing on the balcony shows the view description; standing in a room corner shows bed and amenity details.
The strength here: information attached to what the guest is actually looking at, not a generic description of the whole property. Curious guests click the corner they're interested in instead of being fed one long paragraph up front.
3. Image hotspots
Open a detail photo: the restaurant menu, room price list, floor map, close-up food shots. Example: click the point at the order counter to open a readable menu photo, or click in the lobby to see the floor directory.
Useful when 360 photos can't show something clearly: small menu text, prices, maps. Instead of making guests squint, give them a sharp image exactly when they need it.
4. Video hotspots
Open a short clip: the venue's evening atmosphere, a room-category intro, directions. Video inside a tour feels alive in a way stills can't.
Use sparingly. One well-placed clip beats five scattered across the tour. Keep clips short too — guests are in "explore" mode; nobody wants to be held for a long video midway.
5. Link hotspots
Jump outside the tour: booking page, Zalo, Google Maps, fanpage. Usually placed at the end of the viewing flow — guests have seen the space, one click takes them straight to contact, no scrolling back for a button.
This is the bridge between "viewing" and "asking": the tour introduces, the link hotspot converts.
How to place hotspots without clutter
Three simple rules that work for every tour:
1. Put them where they really are in the photo
The bedroom point goes at the bedroom door, the balcony point at the balcony door. Sounds obvious, yet many tours float points mid-wall or mid-air — guests can't tell where the click leads. Rule of thumb: place a hotspot where guests would walk in real life.
2. No more than 3–4 points per viewpoint
A screen full of dots is the fastest way to confuse guests. Each viewpoint should hold just a few points: one or two main navigation points, plus an info point only if truly needed. A 9-viewpoint museum tour stays comfortable precisely because each viewpoint carries just a few points linked in a loop — few but enough.
3. Short labels that say what the click gives
"View the Deluxe room", "Open the menu", "Book via Zalo" — guests know instantly. Avoid vague labels like "Details", "Learn more", "Click here": they give no reason to click, so nobody clicks.
3 common mistakes
1. Floating points attached to nothing
A hotspot hanging mid-air, at no door and no object. Guests hover, see a label, but can't picture where the click "goes" — so they skip it.
2. Too many points in one viewpoint
Six or seven dots crowded into one frame: guests don't know where to start, click randomly a few times, then stop. Remember the 3–4 rule — better to split into more scenes with fewer points each than cram everything into one spot.
3. Vague labels that promise nothing
"Information", "See more", "Click here" — none of them answer the one question in the guest's head: what do I get? A good label is a specific invitation: "See room rates", "Open the menu", "Compare 3 room types".
Open the 4-space villa 360 demo or the café and rooftop demo and try the navigation points to feel the flow (these are illustrative demos).
Have a set of 360 photos and want to turn it into a tour with full hotspots? Send your photos via Zalo for a free quality check and a quote based on your actual photo set.
Chat on Zalo for advice & quote
Read next: What is a 360 tour? When homestays and hotels should get one